Email Configuration Guide: Microsoft Outlook 2010
This guide explains how to configure your Microsoft Outlook 2010 to access your email account.
This tutorial was created using Microsoft Outlook 2010. If you are using a different software version, these instructions may differ.
The domain example.com is used throughout this guide as a substitute for your domain name. If your domain is johnsmith.com, use johnsmith.com in place of example.com.
Configuration of your email client
The steps below can be used to set up email on your Microsoft Outlook 2010.
1. If this is the first time you've opened Outlook 2010, the Welcome to Outlook 2010 Startup window will appear automatically. Click Next twice and continue to step 2.
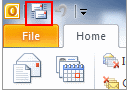
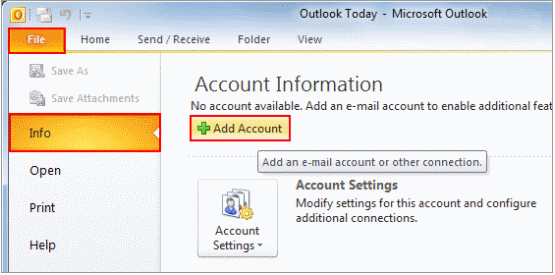
Otherwise click the File tab, make sure Info is selected from the left menu and click Add Account.
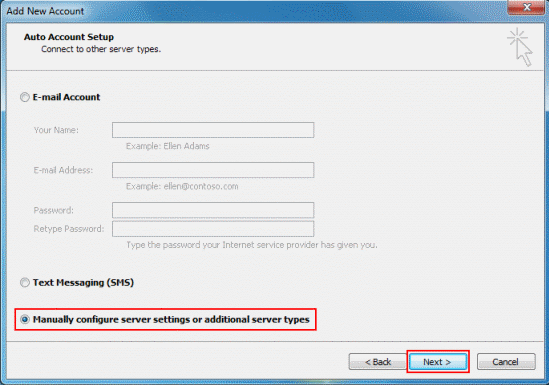
2.Select Manually configure server settings or additional server types and click Next.
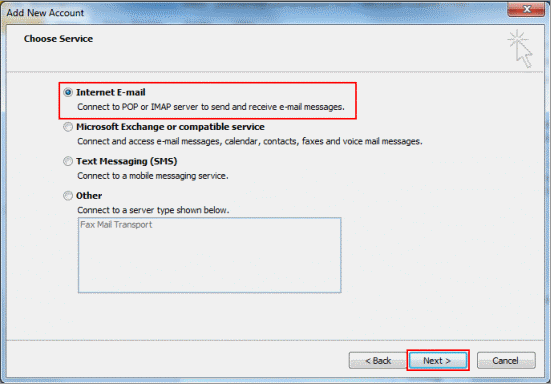
3. Select Internet E-mail and click Next.
4. Fill in your account details (see below the screenshot if you need help with this).
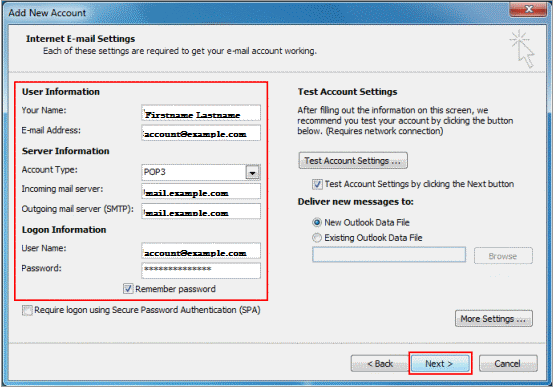
- Your Name: your name as you wish it to appear on your outgoing email messages
- E-mail Address: your email address
- Account Type: select either POP or IMAP from the dropdown list
- Incoming mail server: mail.your_domain
- Outgoing mail server (SMTP): mail.your_domain
- User name: your email account
- Password: your email account password
Before clicking Next please click More Settings and make sure that the settings are the ones as shown in the next steps.
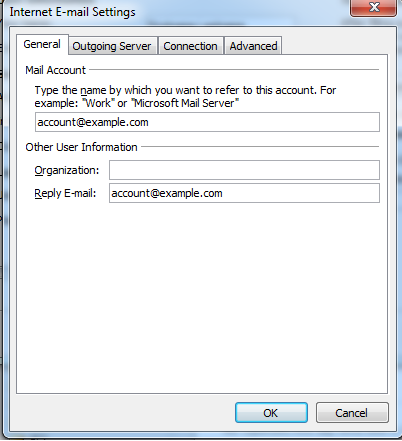
5. In the General tab, enter your name and a reply email address. Usually, this is the same as your email address.
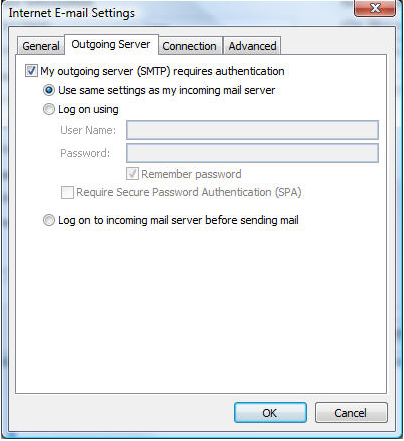
6. Click the Outgoing Server tab. If you are using this service's server for sending email, select the option: My outgoing server (SMTP) requires authentication.
If you are using your Internet Service Provider's SMTP server, it is likely you will not need to enable this option, but check with them to verify the settings to use.
7. Click the Advanced tab. Verify that the port numbers are set to 110 and 25. Make sure the other options are not selected.
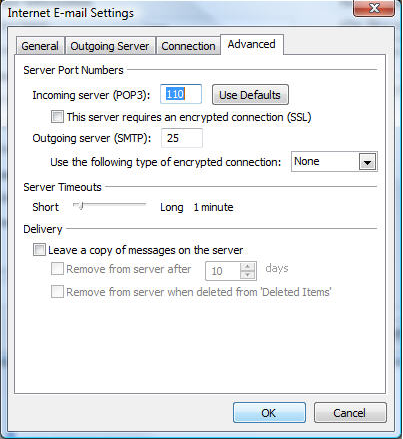
Click OK and then click Finish.
Click Next when you've finished entering these details.
8. Outlook will now test the settings you've entered. Click Close when it's finished.
9. Click the Send/Receive button (it's at the top left side of the Outlook 2010 window as shown in the image below) and your email will be downloaded to your Inbox.